This morning after installing the selector switch and all its pigtails in the chassis, I decided to install the base plate. The chassis in now all in a single assembly.
At this stage I consider the base plate a permanent assembly with the wood chassis frame. Here’s the base plate with (almost) all its hardware.
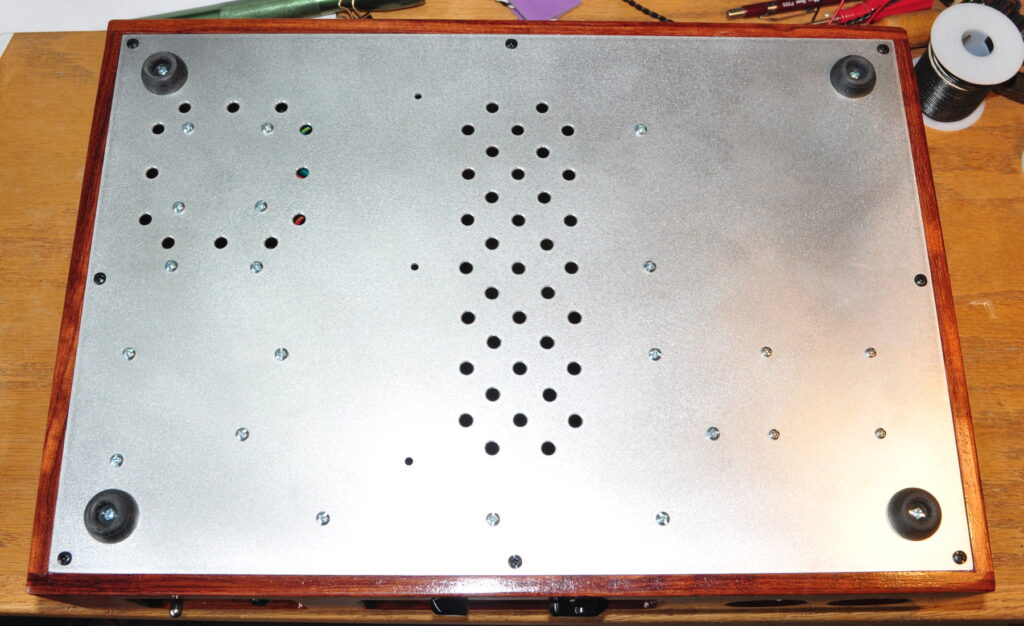
The three holes to the left of the center vent holes are for mounting the vertical vacuum tube assembly. I decided to use black screws along the perimeter just so that they’d be more hidden if looking at the unit close to straight on. I think the buffed finish works well on the bottom plate. And it’s much easier than getting a good paint job on the aluminum.
This leaves the insides which, I have to say, look a little more complicated than most of my projects.
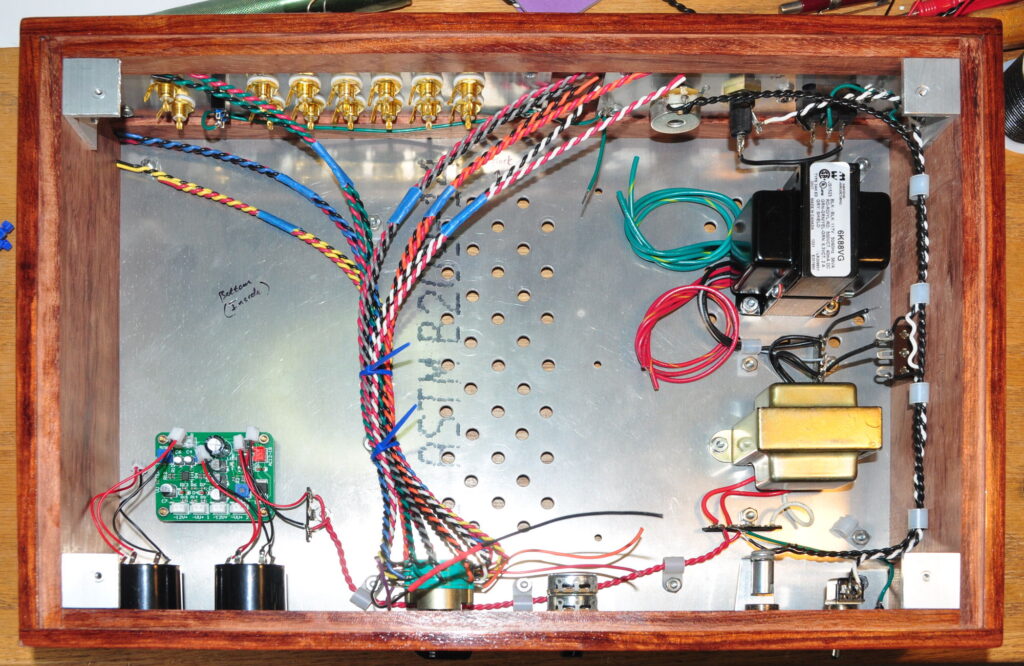
I fine tuned some power routing down at the bottom to keep the 12VAC twisted pair a little farther from the signal lines. But I don’t think there will be any coupling. Two of the three ties are on the signal bundle. Those are the wire ties in blue. The third will wait until I get the twisted pairs soldered to the input jacks. I also completed the power section, safety grounds, and volume control after this picture was taken.
Even with everything in this assembly, I still consider this the “chassis” and not the unit itself. In my mind, the heart of the source selector unit is still the vacuum tube assembly with the rectifier, the gain stage and the buffers. Once I get a little more wiring done in the chassis, I’ll be able to shift my attention to actual vacuum tube circuits. I’m looking forward to that process.
As always, questions and comments are welcome.