The 6V6 "Curly Maple" Amplifier
Posted on May 14, 2026
|
Matt
Beginner Plus
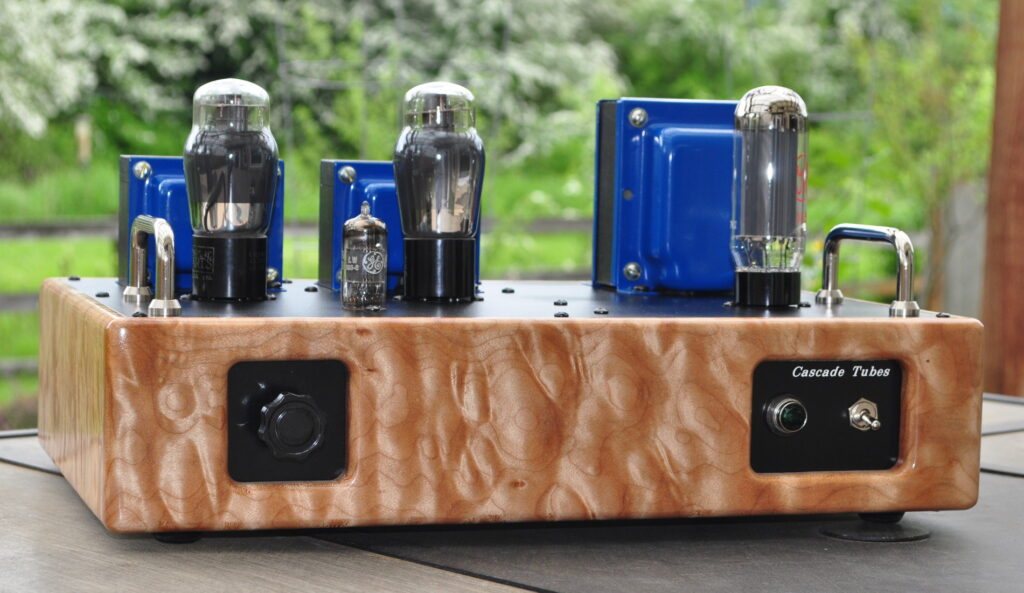
This amplifier started out from a slightly different line of thinking than most of my other amplifiers. This design was to be based on an entry level build difficulty, like the Marblewood Amp, but I wanted to target some slightly different characteristics than that amplifier. The first of these is long term maintainability by someone not a typical vacuum tube enthusiast. I am planning on gifting this particular amplifier and I want the recipient to feel confident maintaining it long after I’m gone. The second is that I wanted to improve on the already excellent characteristics of the Marblewood design. I was targeting the low frequency response and the channel separation/imaging response.
[Read More]
The Source Selection Preamp
Posted on October 26, 2023
|
Matt
A Different Kind of Project
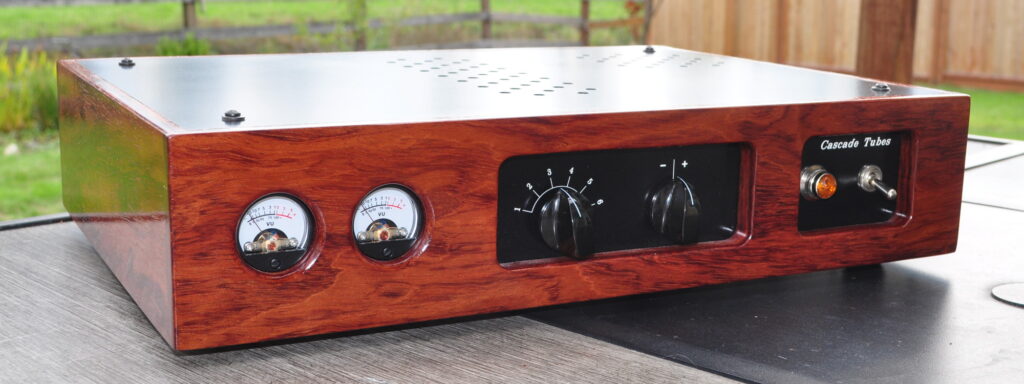
This project started out a little differently from most of my projects. Most of the projects I build are dedicated units; amplifiers, preamps, headphone amps, etc. But this project was designed to fix a specific problem I was having in my office setup. The issue I was having was easily swapping between the various sources in my office system. I had a simple switch for just two sources, but the number of sources was growing and I clearly needed a more robust solution.
[Read More]
The 6L6 "Spalted Alder" Amp
Posted on November 19, 2022
|
Matt
An Outgrowth of Optimization
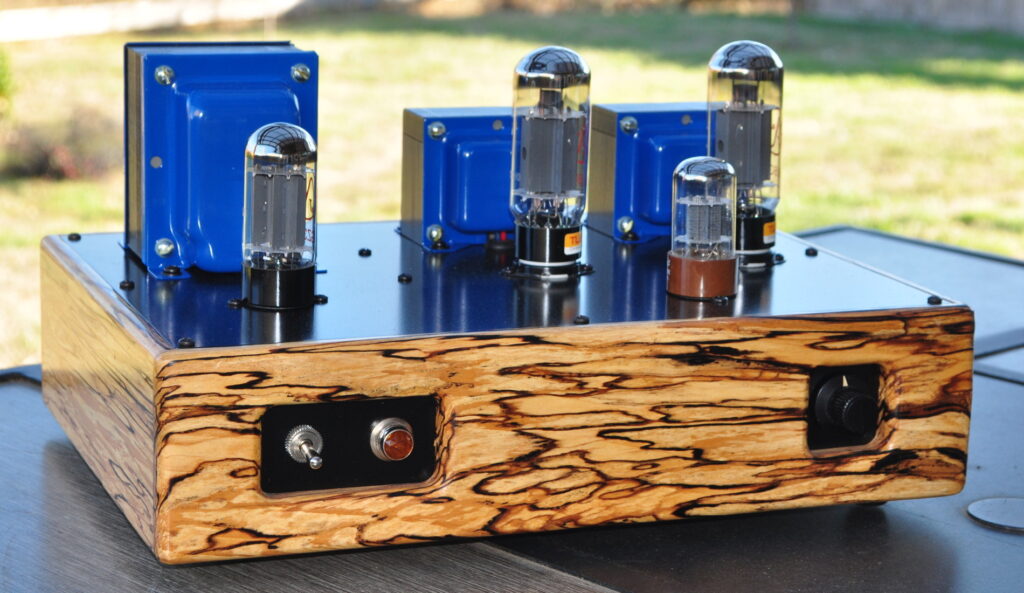
This amplifier was a direct outgrowth of the 6L6 Optimization Study. Having performed the study of the 6L6 tubes in an SE-UL configuration, and seeing the excellent performance which could be achieved, I decided to put the data into a practical application. This amplifier is the result.
Those with sharp eyes may notice that this amplifier shares a marked external similarity with 6V6 Marblewood Amplifier. This similarity flows mostly from the layout of the top plate and the similarities in the tone and pattern of the two wooden chassis. However there are some major differences which make this a far different design overall. Also, whereas I tend to prefer to run 6L6 tubes in the Marblewood amp these days, this amplifier makes much better use of the bigger 6L6GC tubes.
[Read More]
Older Pages
Posted on May 5, 2022
|
Matt
This page contains links to the older and less frequented pages from CascadeTubes history.
Dummy Speaker Load
This is a simple piece of test equipment to help facilitate the testing of power amplifiers. Although simple, I use this piece of equipment with every amplifier I build.
Volume Control
This is a page discussing the building and use of a simple standalone volume control from a stepped attenuator.
Brassboard Prototypes
This is an article on the types of prototyping and the good things which can be learned from “near final configuration” or brassboard prototypes.
[Read More]
The "Purpleheart" Signal Meters
Posted on May 5, 2022
|
Matt
Something A Little Different
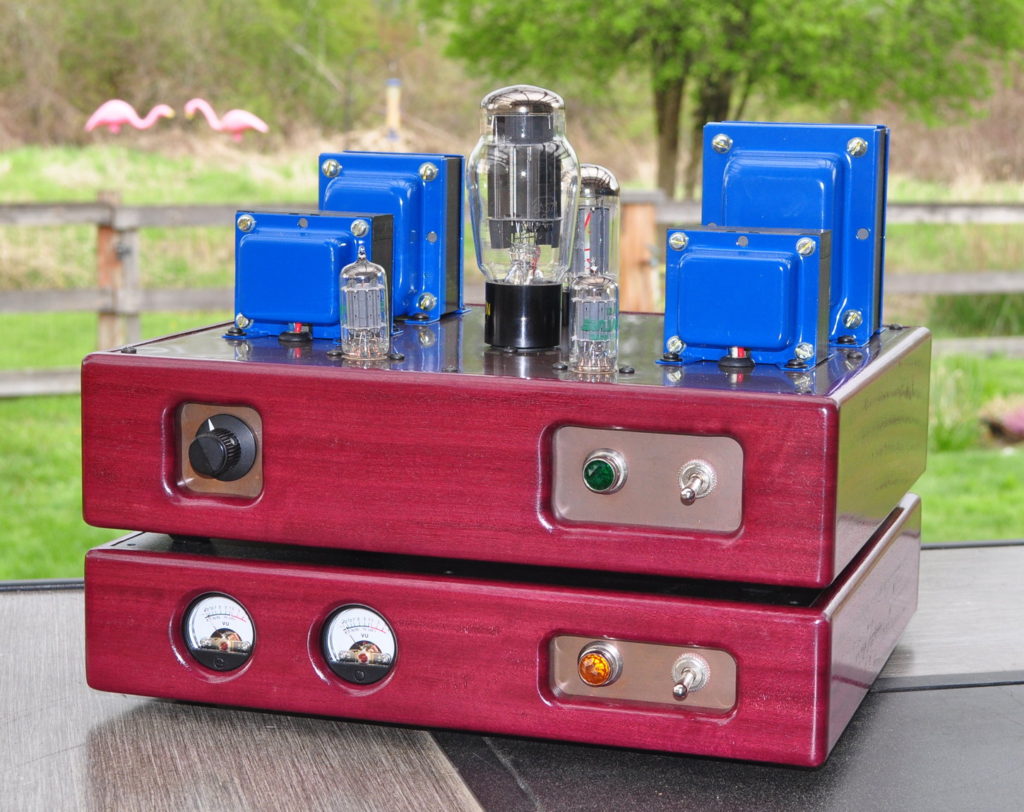
When I posted The 6AS7 Purpleheart" SET amplifier page, I could not have anticipated the interest in the companion unit to this amplifier. So great has been the interest in this little unit that I decided to provide this signal meter component it’s own project page.
This is my first foray into using these ubiquitous little Vu meters. In the past I had always hesitated because of the meters’ unique driving requirements. The issue really lies in the standard for Vu meters in general. Mechanical meters have to be time averaging and this is usually accomplished with a very specific spring/mass balance. To properly drive this balance takes a little power. As such, these meters have an input impedance of approximately 7500Ω. They also assume a certain amount of drive capacity on the signal line.
[Read More]
The 6AS7 "Purpleheart" SET
Posted on April 30, 2022
|
Matt
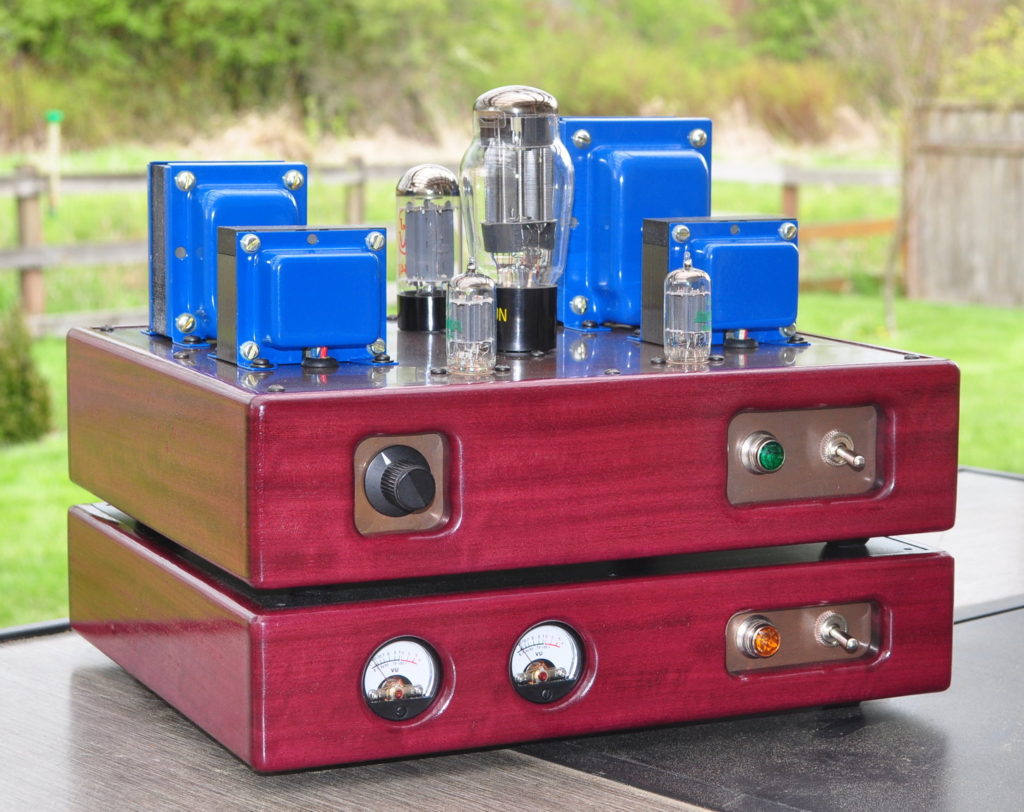
A Long Time in the Making
Ever since completing the 6336 SET back in 2017 this amp has been bouncing around in my head. The big SET has a lot going for it, however there is a high price to be paid in both amplifier infrastructure and operational heat. And that price is basically for a handful of dBs (≈4.4dB in the end) difference in peak power performance. I had developed a design for a 6AS7 SET driven by a 12AX7 several years before but was never happy with that design. However, once I developed the high voltage swing driver for the 6336 SET, it opened up all kinds of new possibilities.
[Read More]
The 12AU7 "Color" Preamp
Posted on April 22, 2022
|
Matt
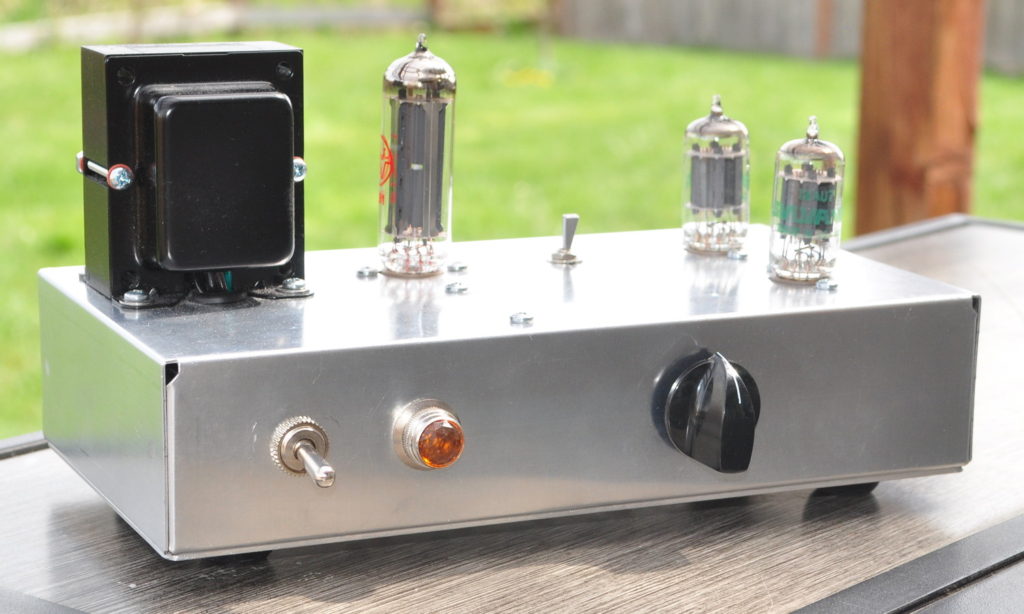
A Simple Preamp with a Specific Goal
The idea for this preamp has been floating around in my head for almost ten years. Ever since I built and posted about the “Universal” Preamp there has been a lot of discussion about a buffered preamp for adding tube color to lower input impedance solid state amplifiers. This discussion arose because the “Universal” Preamp, with its higher output impedance, is really not well suited for driving solid state amplifiers. So this winter I finally decided to tackle this project.
[Read More]
The 6CY7 V2.0 "Zebrawood" Amp
Posted on September 5, 2020
|
Matt
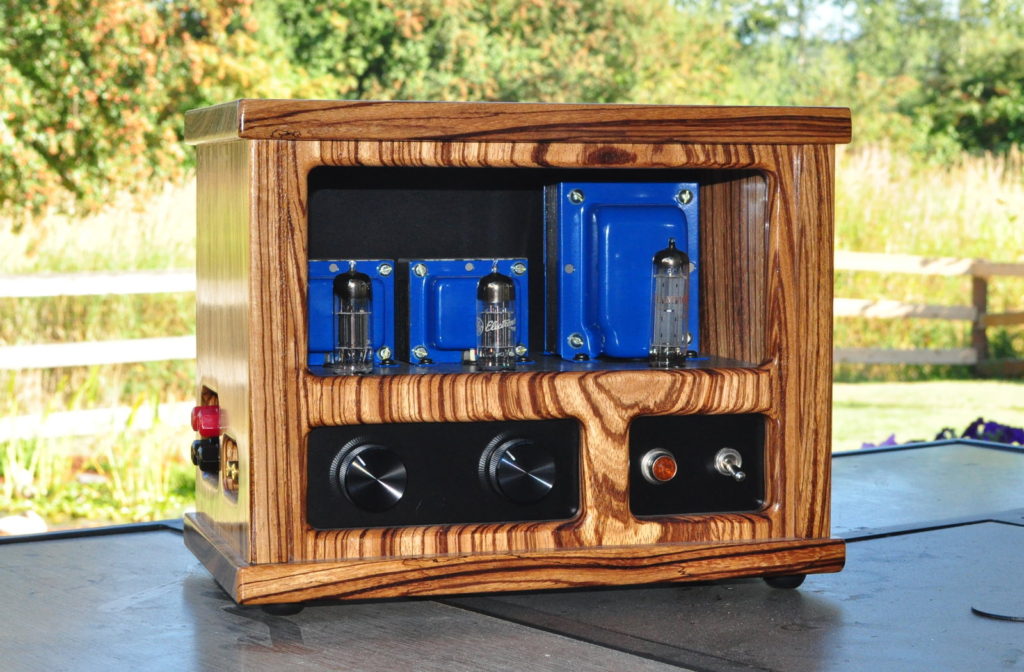
A Long Lineage
This amplifier has a long design evolution history. This first prototype iteration of this design first played music on April 17th, 2011. I designed it as an outgrowth of a tube forum discussion on “spud” amplifiers (i.e. single tube amplifiers). I had stumbled across this tube in the RCA Receiving Tube Manual RC-30 and it looked like a promising candidate for a low powered spud amplifier. Here is the first prototype complete, with power transformer and tube rectification.
[Read More]
Optimization of the 6L6 SE-UL
Posted on March 20, 2019
|
Matt
Introduction
So this is the second of my ultra linear bias optimization studies. This one is for the 6L6 power pentode and, like the last one for the 6V6, is done for the 5kΩ plate load case. Since doing the 6V6 assessment almost three years ago, I decided that I needed a more robust way to perform the task. So I built out this simple jig.
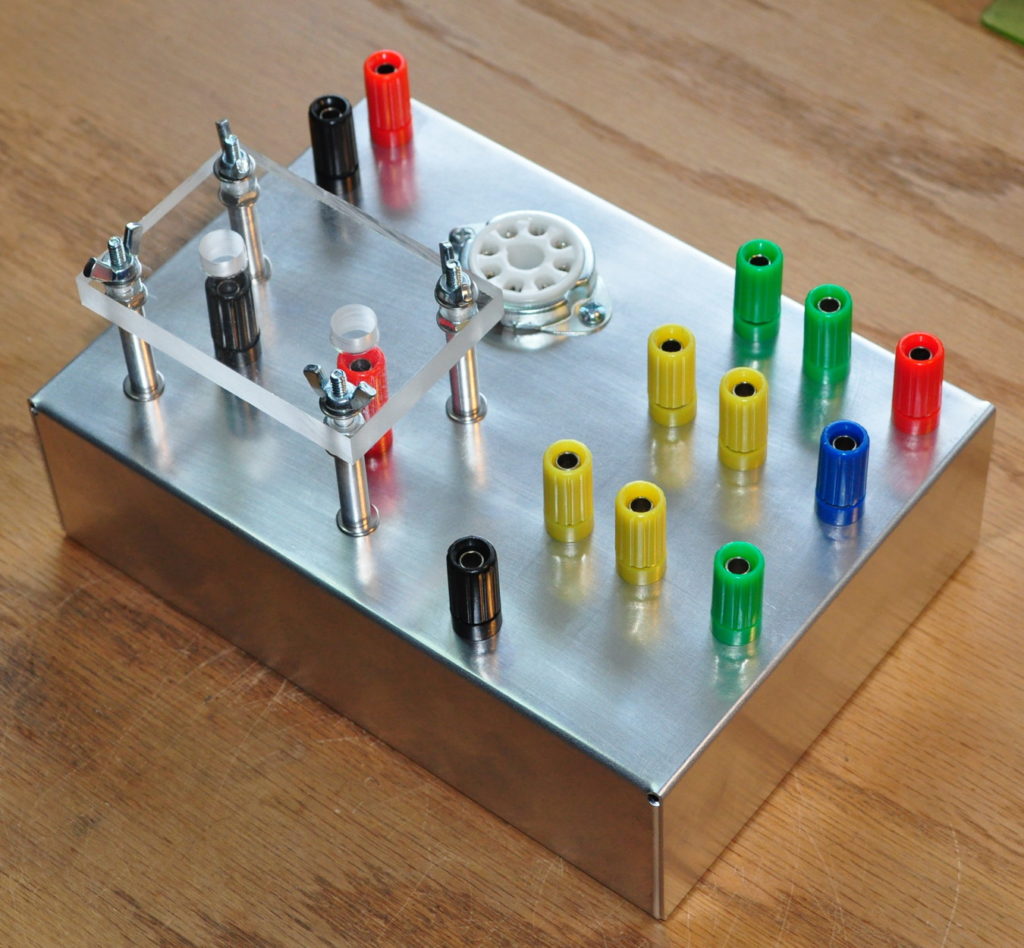
This jig is basically the same, electrically, with the setup I used for the 6V6 investigation. The real difference is that this makes the process simpler and safer. Here is the schematic showing what’s included in the jig.
[Read More]
The 6V6 Marblewood Amp
Posted on March 8, 2018
|
Matt
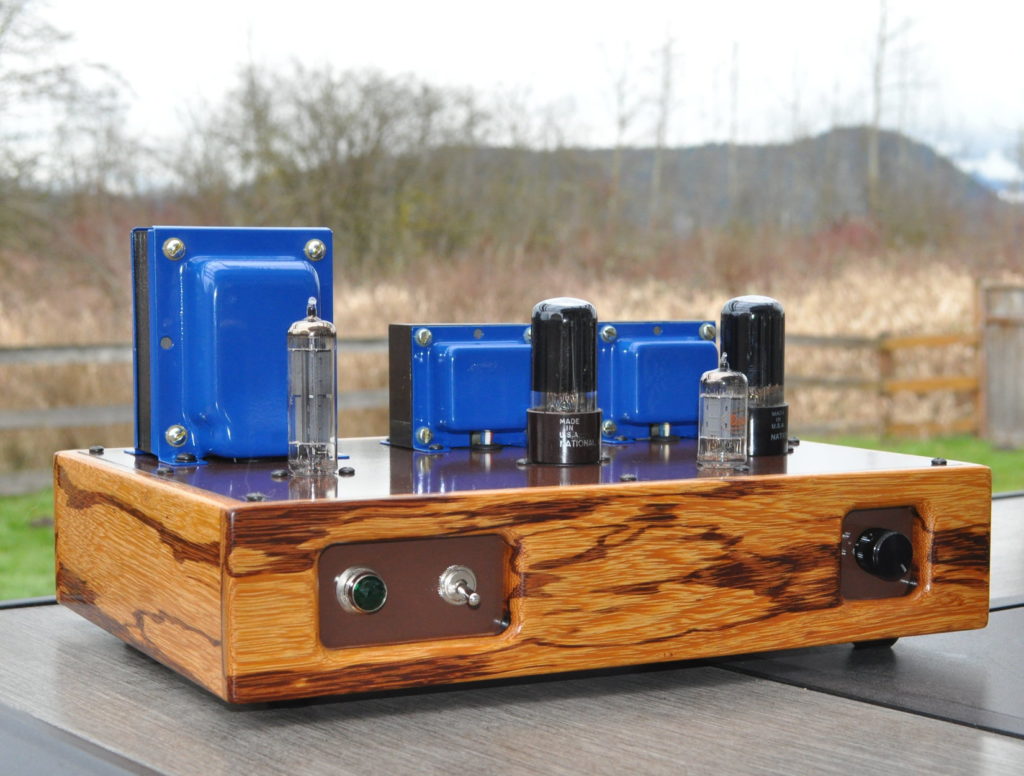
A Different Approach to “Universal”
This amplifier started out with a stroll through a woodworking store in Oklahoma City, OK. What caught my eye was a single plank of a species of wood with which I’d never worked, “Marblewood” or zygia racemosum. The wood was expensive so I bought a single piece six inches wide and four feet long. Thus was the “Marblewood” amp born.
Now that I had the wood, I needed an amp to wrap it around. At his time I had just finished the rewire of the Lacewood amp using the information I had from the 6V6 bias optimization study. While doing that project, I thought that I should really design an entirely new 6V6 SE design specifically targeted at someone doing their first major tube amp build. This seemed like the proper opportunity to give it a try.
[Read More]
The 6336 SET Amp
Posted on November 27, 2017
|
Matt
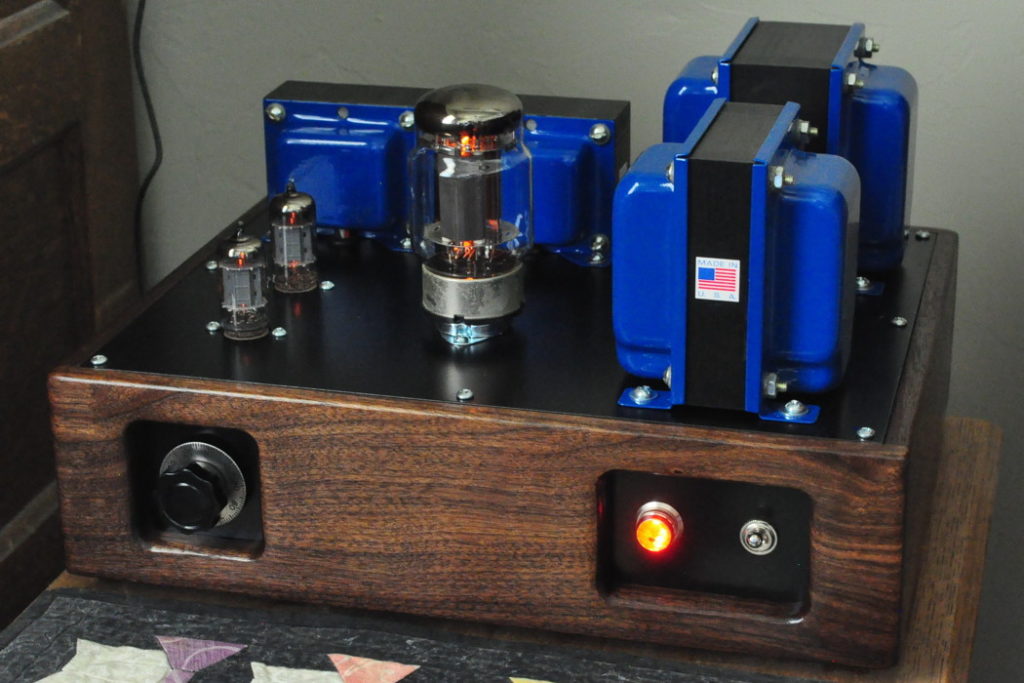
Just An Idea
So for quite some time, actually since first designing a 300B amplifier back in 2010, I have been playing with the idea of designing a nice intermediate power (5 to 10 watt per channel) SET amplifier. But I didn’t want to revisit the 300B or 2A3 DHT power triodes, I wanted something different and something that didn’t have the obvious drawbacks of the DHT tubes.
[Read More]
The 6V6 Lacewood Amp V2.0
Posted on May 19, 2017
|
Matt
Same Skin, Different Muscles
The 6V6 Lacewood amp was designed and built in the first half of 2011. At that time there were two important aspects to this build. The first was that it was partially an experiment to see if an alternating current filter supply would cause 60Hz hum in the output if the B+ supply was very clean. The second important aspect was that the UL power stage design was based on a pentode mode bias point pulled directly off the 6V6 data sheet. The amp turned out very well at it was my main listening amplifier in my office for several years.
[Read More]
The 6DJ8 Headphone Amp
Posted on April 9, 2017
|
Matt
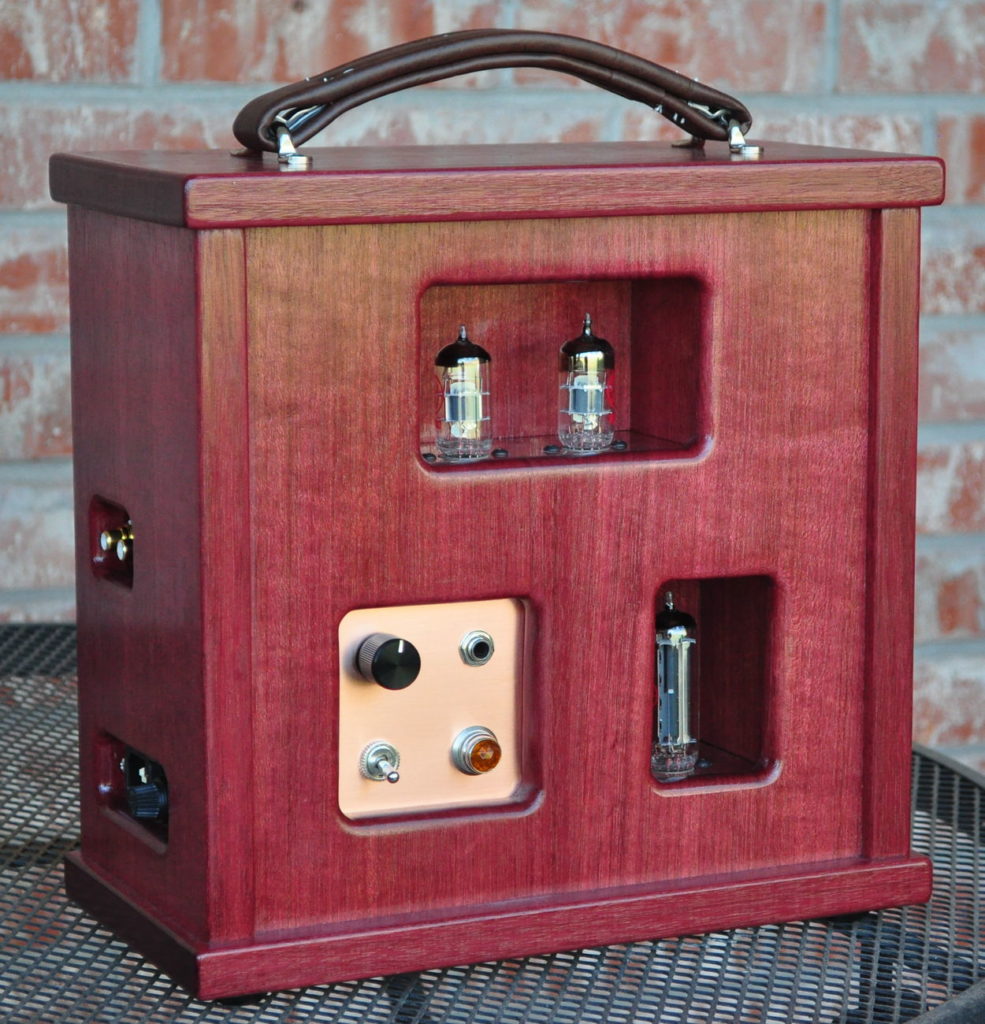
Something A Little Different
I have never been fully satisfied with the designs of most vacuum tube headphone amplifiers. The reason for this is because so many of the typical designs have some serious shortcomings.
The typical cathode follower designs tend to be high distortion and sensitive to headphone impedance. The more exotic types, including the White cathode follower and the popular but misnamed SRPP, tend to be highly sensitive to component and tube variation. And both types of designs require large output capacitors that distort the sound and suffer high leakage currents; resulting in DC offsets which stress, and can even destroy, headphones. Most designs that use output transformers tend to be noisy and are required to be closely matched to the intended headphones. Hence, these designs tend to be only medium fidelity and lack versatility.
[Read More]
Optimization of the 6V6 SE-UL
Posted on April 20, 2016
|
Matt
Introduction
One of the main problems encountered in modern vacuum tube design is a great lack of available information. A good example of this is the data available for power amplifier tubes. Often times all that is available is a data sheet, some simple design point information, and maybe some plate circuit characteristic curves if we’re lucky. If someone wants answers about using the tube at a different operating point than that referenced in the data sheet they’re pretty much out of luck. And it’s not like today, we can simply pick up the phone and call RCA or GE and start asking questions about vacuum tubes. We modern tube circuit designers are on our own.
[Read More]
Brassboard Prototypes
Posted on December 22, 2015
|
Matt
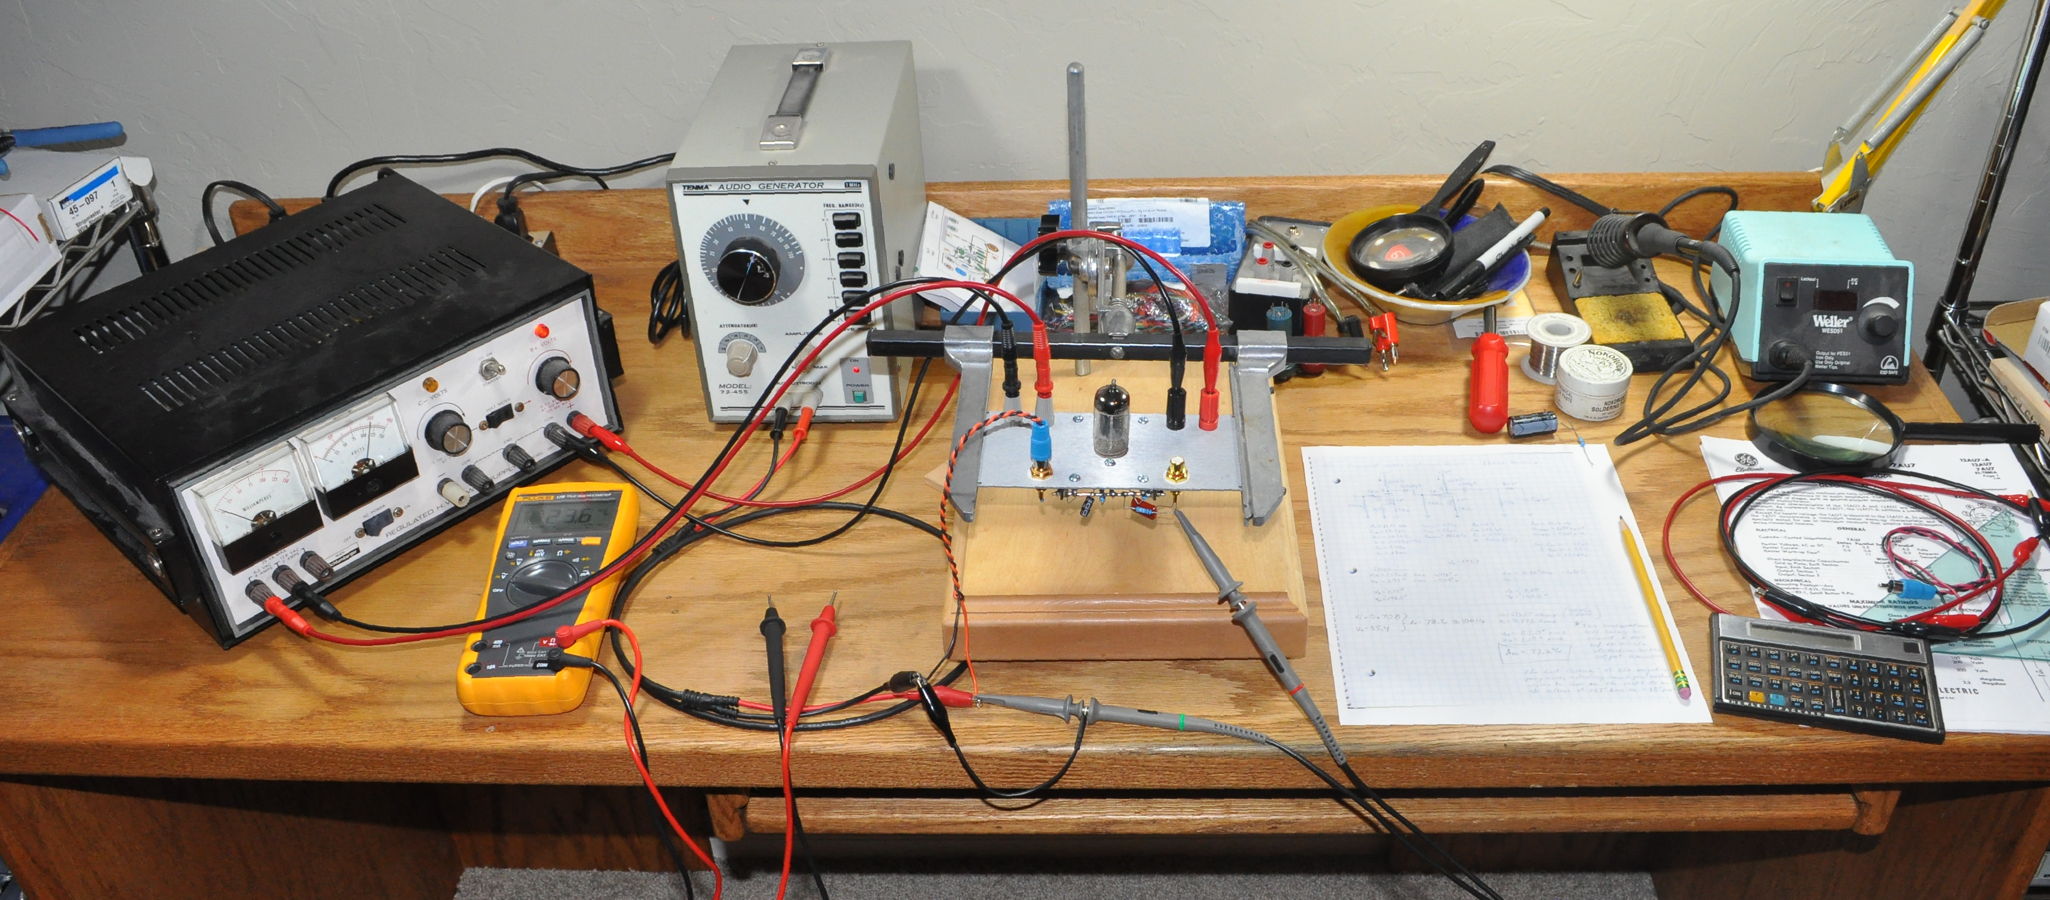
I would like to take a moment to talk a little about “brassboards”. Everyone in the DIY community knows about prototyping. This is the “tryout” phase where we wire things up to see if they’ll work before we start a build. Sometimes it’s just part of a circuit, sometimes the whole thing, but there is one thing that all these prototypes have in common. They are in no way representative of the final project. But what do we do if we need to take our “tryout” one step farther before we build our project? What if there is something different in our circuit we haven’t built before. What if something in this design doesn’t look “right”? What if the circuit looks ok but the physical wiring looks like it will be a challenge? This is where brassboards come into play.
[Read More]
The 6CY7 Amp
Posted on June 14, 2015
|
Matt
An Exercise in Reuse
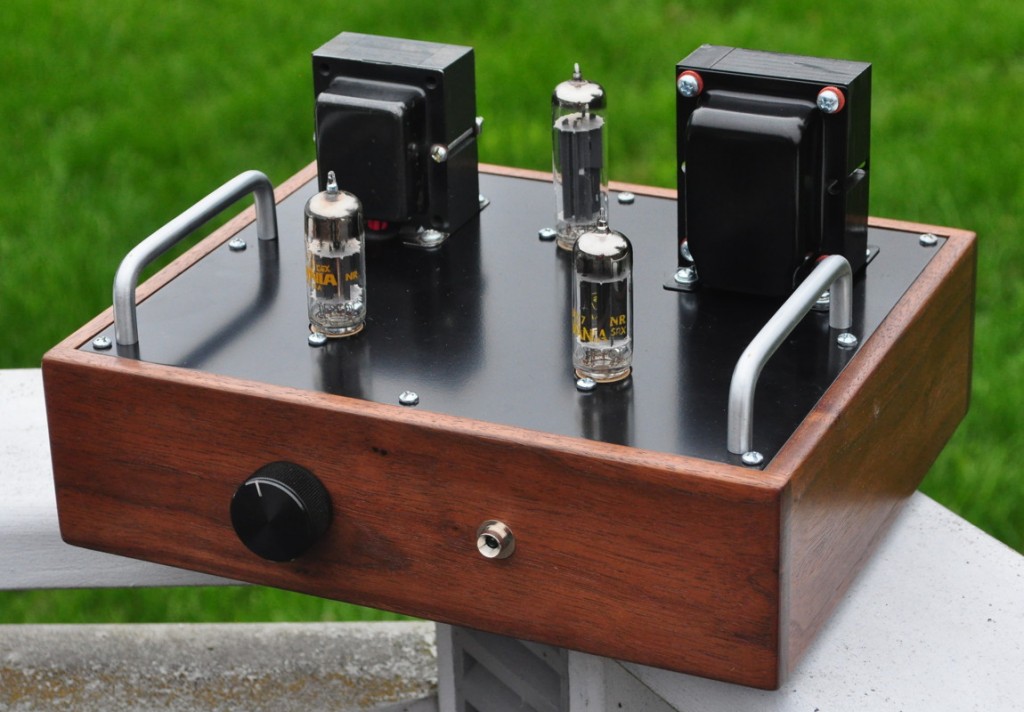
This amplifier came about due to an unexpected turn of events. Those with sharp eyes will recognize that the chassis for this amp is actually from the “Recovery” headphone amplifier. This is what happened. Shortly after I finished the Recovery amp, I started work on my 6V6 Lacewood amplifier. I used the Recovery amp for a while, however when the 6V6 Lacewood amp was completed, it quickly became my default amplifier for most of my music listening. By this time I already had the “Rebuild” headphone amplifier for my desk at work and I had largely stopped listening with headphones at home. This meant that the Recovery amp was put aside.
[Read More]
The 6EM7 Vertical Amp
Posted on June 8, 2015
|
Matt
A Historic Turn of Events
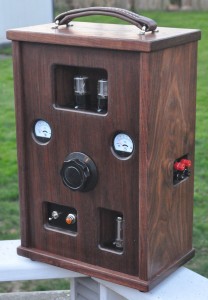 A very interesting thing happened in the electronics industry during the middle of the 1970s. This was a time of great turmoil of which few people were aware. The mighty vacuum tube had been the mainstay of the electronics industry for over 65 years. It was the technology that had helped win World War II. It was the technology that had put men on the moon. It was the key technology which had brought ease, connivence, and comfort to millions of people. Virtually every element of industrialization and modernization had been built on the vacuum tube. It was also a doomed technology.
[Read More]
Dummy Speaker Load
Posted on February 8, 2015
|
Matt
A Proposition
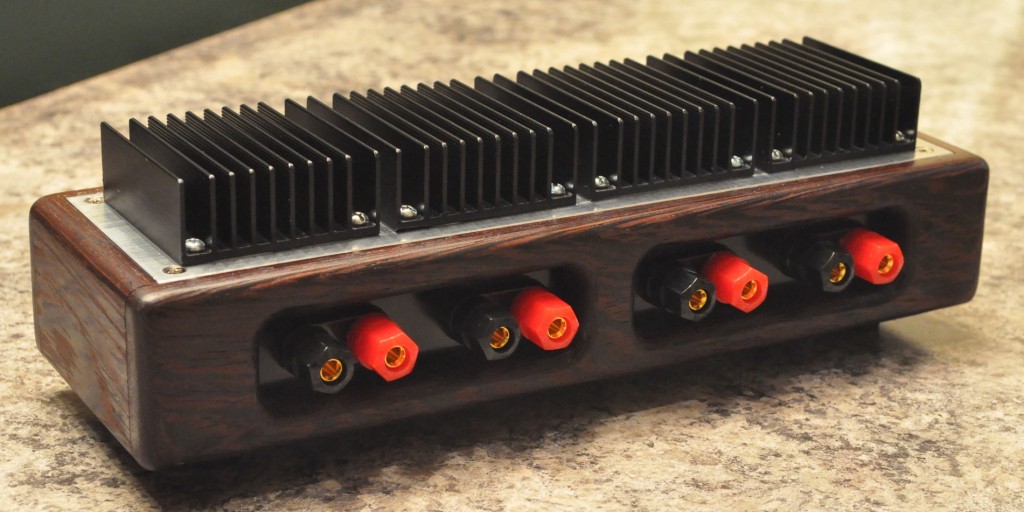
Just because something is a piece of test equipment doesn’t necessarily mean that it has to look like a piece of test equipment. This proposition is where I started with this particular project. I have a couple of amp projects in progress and was thinking forward to testing as I was putting the chassis together. In the past I’ve just wired some power resistors across the output terminals for testing and called it good. But, as I looked at a piece of heavy aluminum plate stock sitting on my workbench, I decided that I could do better; and make it look better at the same time. Thus was this project born.
[Read More]
The "Universal" Preamp
Posted on September 17, 2013
|
Matt
 Humble Beginnings
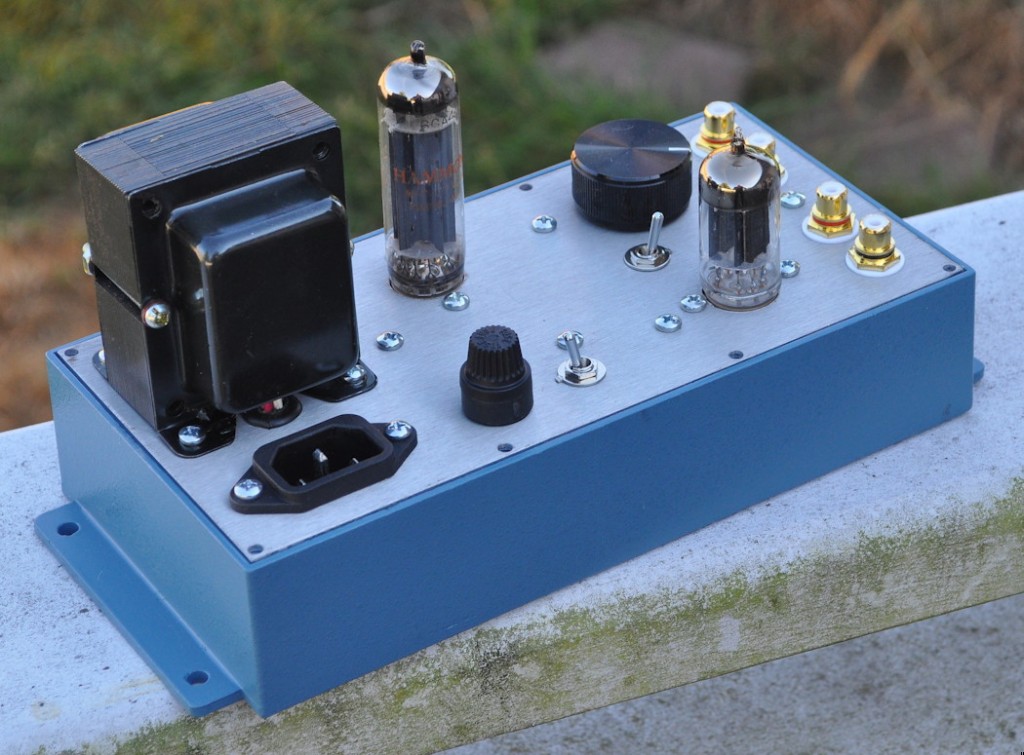
The basis for this amp started out as a post in a thread on the DIY Audio Projects Forum site. One of the members had suggested building a Super Simple Single Stage Preamp (“4S” Preamp for short) and there was much discussion concerning various tubes, gain, noise, etc. and several designs were presented using various dual triode tubes. Then the proverbial gauntlet was thrown down with the phrase “switch from 12AU7 to 12AX7”. My answer was to design a universal stage that would work well with an entire range of tubes. Thus was the 4S “Universal” preamp born.
[Read More]
Volume Control
Posted on August 24, 2013
|
Matt
The Problem
Here’s the thing…
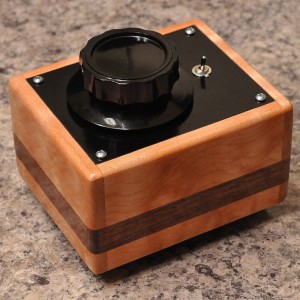 When you are building different amps and preamps, you want to listen to different ones all the time. You end up switching different units in and out, reconnecting things, basically reconfiguring all the time. Invaraibly, at some point you are going to want a nice simple volume control to adjust a level. This is not necessarly as simple as it may sound. You need to consider impedances, grounding, type of attenuation, method of connection, ease of use, etc. So I decided that I needed to tackle this problem.
[Read More]
The 6AS5 µ-Power UL
Posted on August 23, 2013
|
Matt
A Micro-Power Powerhouse!
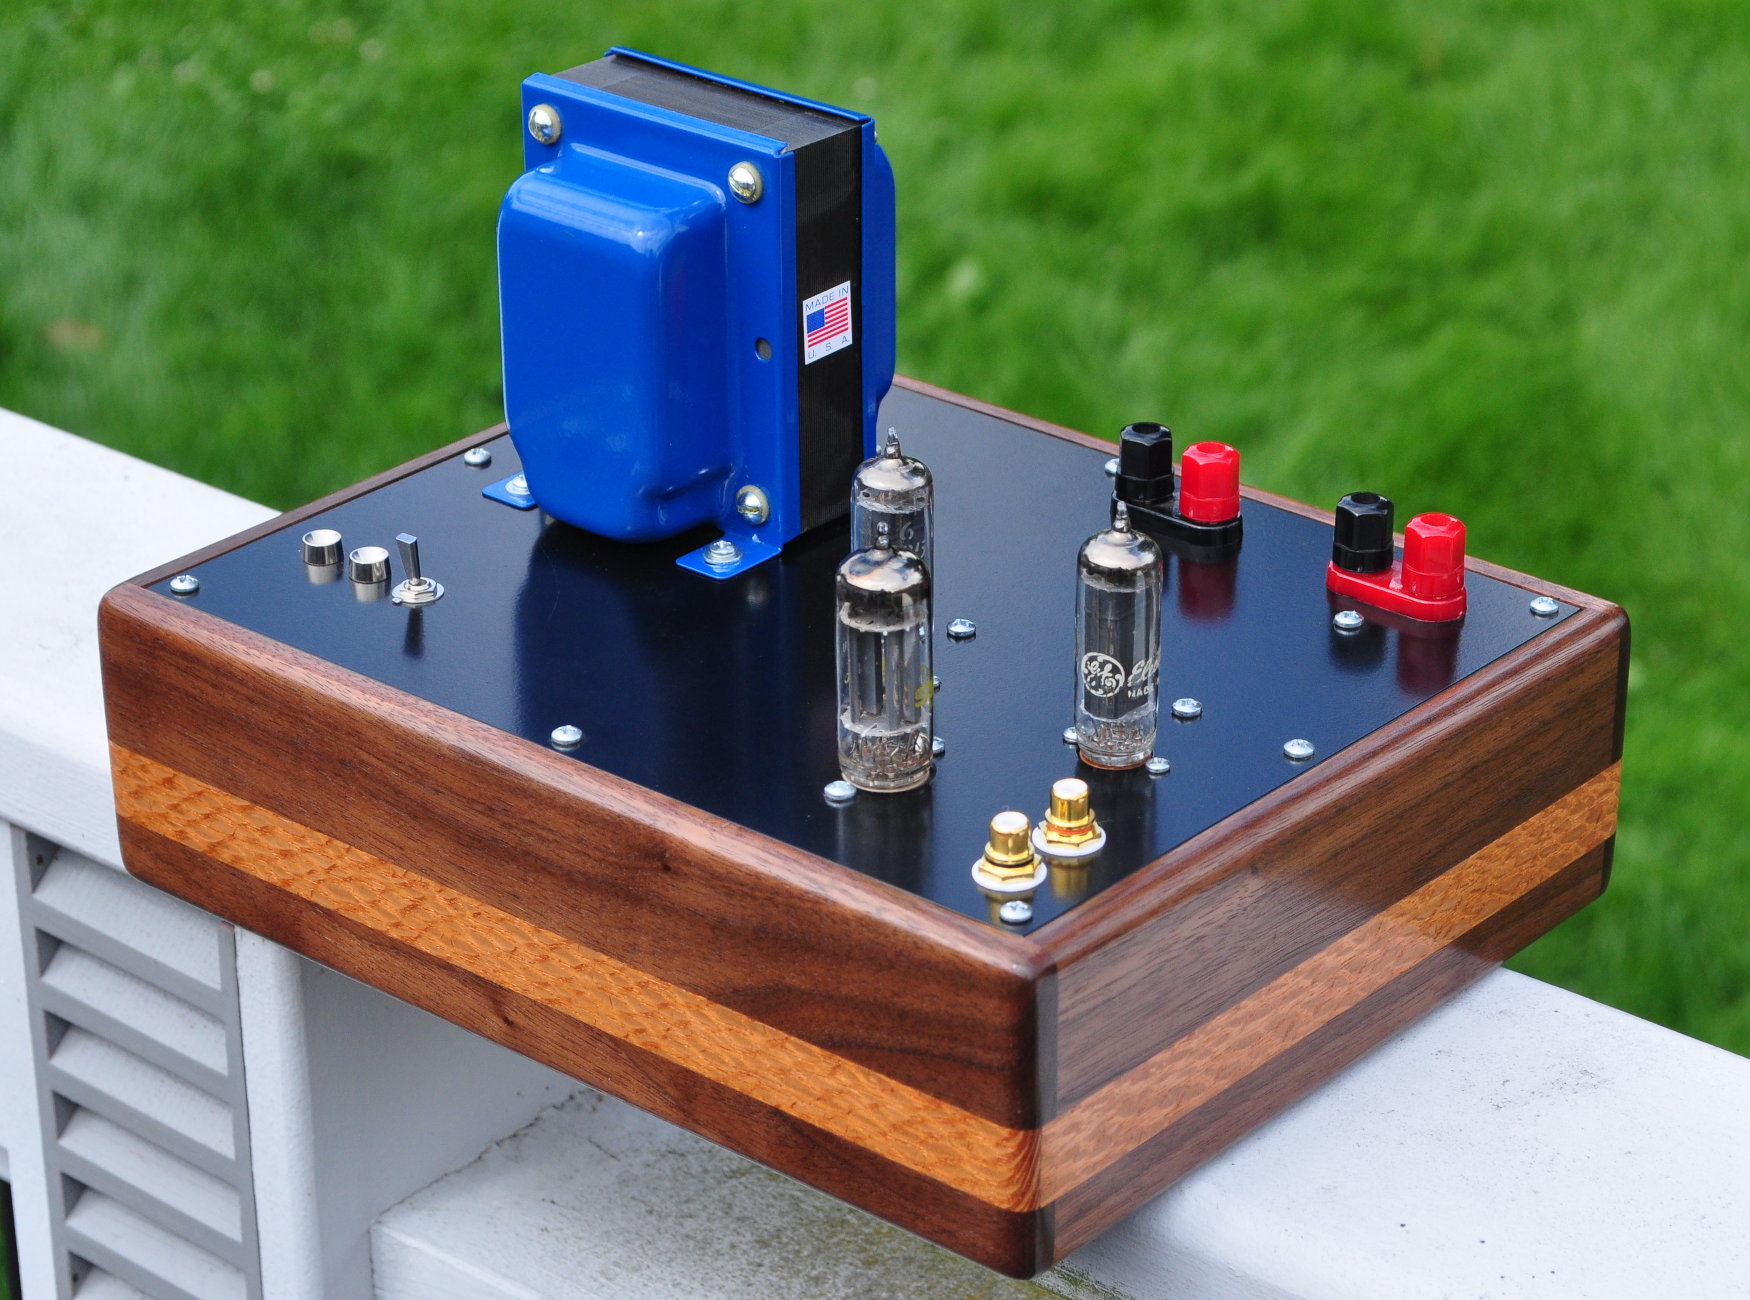
Here is a nice little amp that started out as an exercise in the inexpensive. The basis for this amp was a stack of 6AS5 power pentodes that I got for $2 each. This is a little power tube initially developed for automobile radios. As such, it’s not very powerful and runs off of fairly low B+ (150v max). Typical operation, at least on the data sheet, is 2.2w into the output transformer with 10% THD. I was determined to improve on this distortion performance even though I knew it would cost me some power. When ever possible I selected surplus components (or at least those I already had on hand).
[Read More]
On Prototyping
Posted on August 18, 2013
|
Matt
Simulations and Prototypes
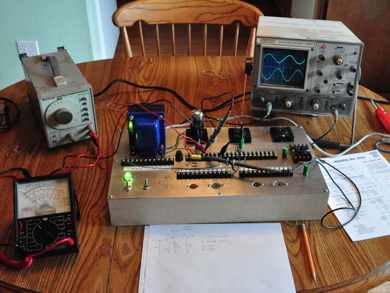
When I first started building electronic circuits, the word “simulation” carried with it a much different context than it does today. Intel had just introduced its 4004/8008 micro processors and most computers were still things that sat in special air conditioned rooms being tended by full time operators. Simulation was something NASA did to predict aerodynamic forces. It was something the DoE did to predict shock waves from nuclear weapons. It was definitely NOT something circuit designers routinely did to determine if their circuits would work before building them. In those days, if you wanted to see how a circuit would perform, you built it. Consequently circuit designers often spent as much time in the lab as at their desks. All of this activity even led to the evolution of development terms like “proof of concept”, “breadboard”, “brassboard”, and “preproduction unit”.
[Read More]
The 6V6 Lacewood Amp
Posted on August 18, 2013
|
Matt
A Design For All Seasons
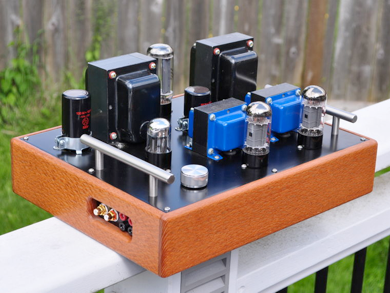
This amp was designed and built with several different goals in mind. The first was that I needed a small amp for my work/listening area. This is a small space, about 8’ x 10’, so I didn’t really need lots of power. I thought that a nice single ended UL 6V6 design should be just about right.
The second goal was to test a hypothesis. I had been seeing lots of talk on the tube forums about “heater hum” and how DC heaters supplies were required and that heaters should always be “lifted” above the potential of the cathode. Now there is much truth to this when using tubes with directly heated cathodes, but with unipotential cathode tubes (i.e. tubes with a cathode electrode separate from the heater) the isolation between heater and cathode should be sufficient to prevent audible hum. My hypothesis was that the hum problems people were discussing arose mostly from B+ ripple and poor lead dressing inside the chassis. So I would design a power supply with B+ ripple below the limit of my test equipment, apply proper build techniques and see how I did.
[Read More]
The First Amp
Posted on August 18, 2013
|
Matt
Just A Copy…
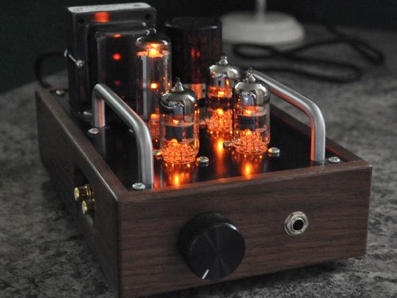
For my first amp I decided that I should start with a known entity. So after some reading and looking around I found the article on the Headwize website by Chu Moy, “The Morgan Jones Mini Tube Headphone Amplifier”. After reading the article, and verifying for myself the conclusions drawn, I decided to simply build the amplifier as is without modification. I would build my own power supply and put the entire thing in a simple walnut and aluminum chassis. You can see the results in the picture above. I was very happy with how it looked.
[Read More]
The Rebuild
Posted on August 18, 2013
|
Matt
Why?
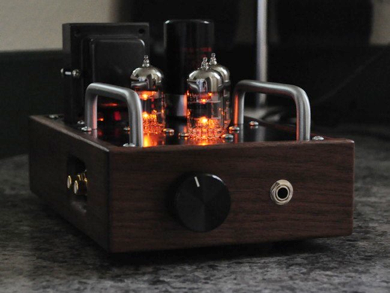
A reasonable question at this point is to ask why attempt to revive this headphone amp. After all, it was a pretty bad failure the first time, the recovery amp built on the larger chassis was an unqualified success, and it’s essentially the same circuit as last time. What’s the point? Why not try something different? The answer is simple. It has nothing to do with the amp itself and everything to do with failure, recovery, and learning from my mistakes. And so I will try again. I will see if I can do what I think I can and make the amp work properly after all.
[Read More]
The Recovery
Posted on August 18, 2013
|
Matt
Let’s Try Again…
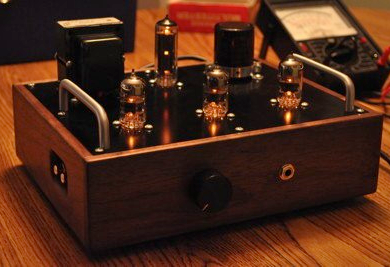
This is my second attempt at building my first operational headphone amp. It actually turned out much better then my first attempt. If you have read “The First Amp” you already know that I had some initial problems. But making mistakes is alright so long as we learn from them. And I did. For this amp I used the lessons I had gleaned from my first attempt. I spread things out more on the chassis and I inserted some more carefully thought out shielding. I also paid much more attention to my grounding scheme. The results were much better.
[Read More]
About Me
Posted on May 5, 2012
|
Matt

- Born : Michigan, 1964
- Education : BSEE University of Michigan, 1987
- Work : Aerospace Industry, Senior RF System Specialist (Retired)
Although I’m loath to admit it, I am old enough to remember the last of the tube days and the great invasion of the transistor. In fact it was during this time, let’s call it “the late 70s”, that I had my first experiences with both the old tube amps and televisions of the 60’s. It was also during this time that I converted a large part of my parents’ basement into one large electronics shop of horrors. Complete with old televisions, ancient tube radios and amps, and every manner of electronic contrivance. And for a time I was happy.
[Read More]


